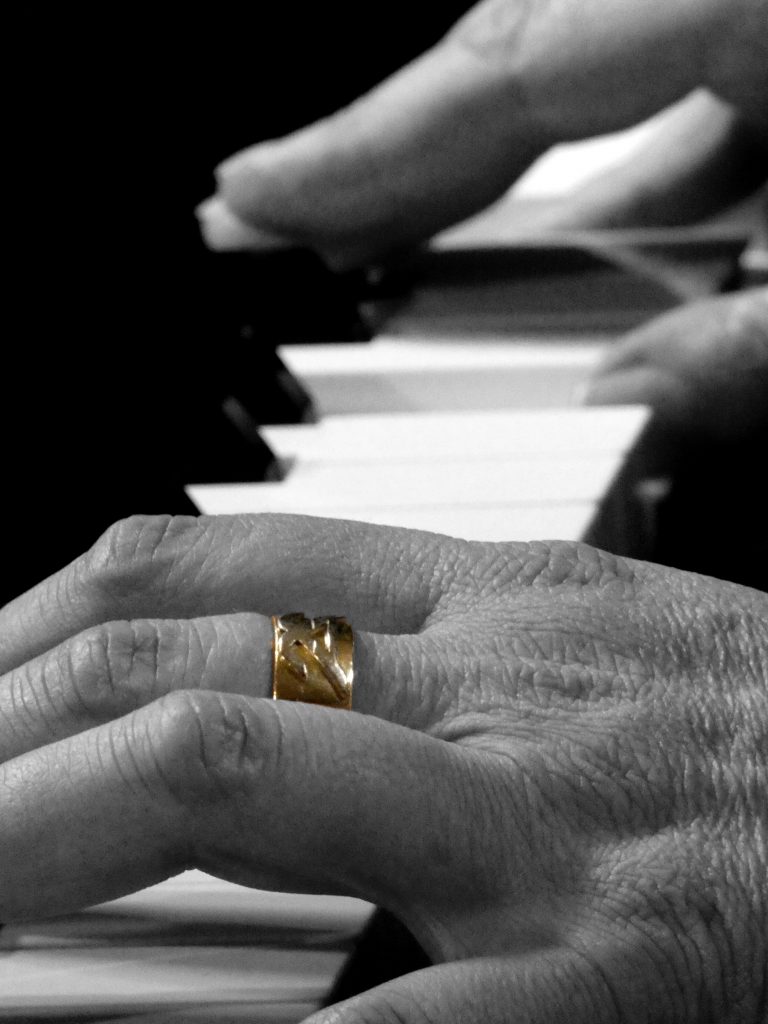
This is again a typical untypical story. Just before christmas I added a few samples to the DAW (DigitalAudioWorkstation) since I didn’t find a nice sounding piano and was missing some classical instruments.So I invested a little money for these sound libraries and luckily, I could install these right before christmas.
Usually I write songs on the guitar, rarely on the bass and even more rarely on the piano/keyboard. But, with these sounds now, I found myself in front of the keyboard all the next days, having fun. These sounds are really amazing and not comparable with the piano I play upstairs. It was like playing a high-end ultra-expensive concert grand piano. So I came up with a few chords, playing these over and over again, nearly unable to stop. Of course, I recorded that and was quite happy, but maybe…..hm…..maybe just add some symphonic violins? Thanks to MIDI, I could adjust the piano notes (I better stick to the guitar, as I am not such a great piano player) and I could at least “program” some violins. The more I was digging into these, the better it worked out. OK, this is not the kind of music I usually compose, for sure, but it was really fun, lots of fun. Of course I needed a name for this new “song” and the “album”. Songname was easy, simply stick to the way the “old” classical heroes named their stuff.
So the outcome was “Sonate für Klavier & Violinen Ensemble Nr.1 in A-Dur op.1” – cool name, huh? 🙂
The tricky part was the album title, but after a few beers with a friend we came out with “Zwiweisy” – sounds a bit classical and has a special meaning (we were laughing out loud once we came to it).
So, what does it mean now?
Well, it’s the time between the years abbreviated in German.
So it is “Between christmas and new years eve”, which is in German “Zwischen Weihnachten und Sylvester” – there you are: Zwiweisy!
Helmholtz-Resonator
I was sooo happy when we installed the new monitor system in the project studio. Hey, now we can start mixing since these monitors are great! Full spectrum frequencies, not leaving out half of them like the old system. 🙂
Mmmh, but then it turned out, that the new system was “too good” for the room. Why? Well, when turning it louder, we had a deep “huuum” in the room. Not always, but sometimes. Often. Very often! What was that? Ok, measure microphone connected, pinknoise on, analyse running and this is what it looked like:
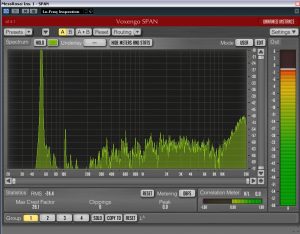
OMG, a spike that was going through the roof at around 53Hz.
Called a friend who is a professional sound engineer/master/godfather of sound, and told him the results. He immediately asked for the room size, I told him 3,20m x something 5-6m or so. He quickly calculated and said that a full soundwave that would fit in 3,20m would be around 106Hz. Told him, that we have a peak at 53Hz, not 106Hz. So we discussed and agreed, it was the octave down, so half wave length of 53Hz. Mmmh, let’s calculate again:
106Hz: For sound wave, wavelength (λ) in Air is nearly 3.238 meter
53Hz: For sound wave, wavelength (λ) in Air is nearly 6.475 meter
Half a wavelength is what is called 1st harmonic and so we had a standing wave due to the size of the room, better, due to the distances between the walls where the monitor system was installed. (Standing wave in an open pipe)
We discussed resonators, since it would be impossible to tear down the walls in the basement (where the project studio is located), but unfortunately, the standard resonators start operating at around 100Hz going up, and we have a problem at 53Hz. He pointed out, that he worked with Helmholtz resonators and that these could operate below 100Hz, but never built one of these.
OK, “Helmholtz resonator”, never heard of it, so I decided to do a research on the internet. It turned out, that there are tons of wrong formulas for this, took me a few days and nights until I found someone pointing to the correct formula, who also said, there are way too many wrong formulas on the internet. So, here is the one I used:
F = [c / (2 * 兀)] * √ [SR /(V * (RL + 2ΔL)]*100
c= speed of sound, which is defined 343,2 m/s (1236 km/h) at 20° Celsius
We should be safe if we use 343 for c. 🙂
F = [343 / (2 * 兀)] * √ [SR /(V * (RL + 2ΔL)]*100
F is the resonanzfrequency,
兀 is number Pi so 3,14..
SR is the Mouth surface of the pipe, so SR = Pi * r²
V is the volume
r is therefore radius of the pipe in cm
RL is the length of the pipe in cm
2ΔL (2DeltaL) is the muzzle correction, which is always 1.6 * r
However, once I had the correct formula, I created a “test balloon” resonator, simply out of pressboard, held together with tape. I must admit, I didn’t want a cube because of a lack of space, so I went for a triangular form that would fit nice into the corner.
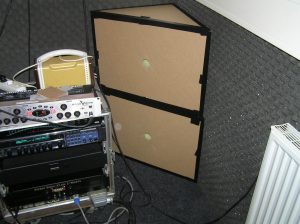
So, once “installed”, measure microphone, pinknoise and……..hey, it came down a bit. So, the resonators are working, they’re just way too small.
Based on the results, we would roughly need a volume of 400ltr to eliminate the standing wave. I was too afraid to use an adjustable pipe, so I calculated the pipe as the thickness of the plate that the resonators would be build of. 🙂
And here they are, 99.452ltr volume each:
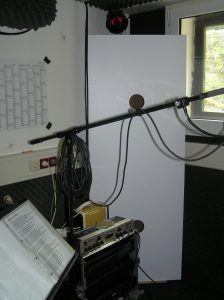
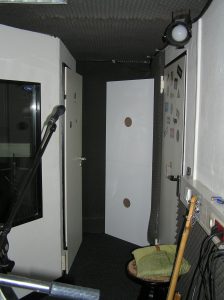
And guess what? They’re doing the job. Here’s the low frequency inspection with the resonators installed:
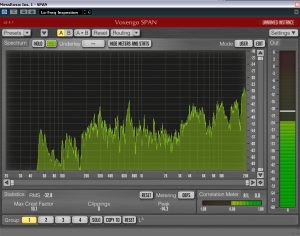
No more peak at 53Hz, also the rest leveled much better than before.
Yet another DIY to understand a little bit more of what’s going on. 🙂
3D Logo animation
The HW Logo was created years ago, but it always was 2D.
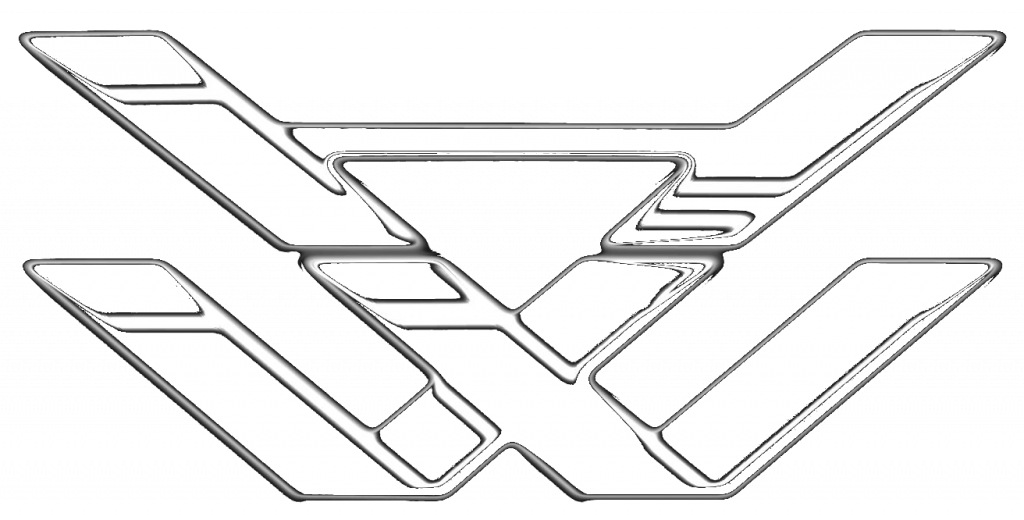
I was looking for a way to make it 3D and also (maybe) create a short intro movie for my videos.
The only thing I could find back was the original GIMP file, BUT, as the logo was initially created with inkscape as a vector graphics, I couldn’t find THAT file. It used to be on my old (crashed) computer, so it was gone.
(I know, no backup, no mercy.)
So I re-created a vector graphics from the plain 2D image, which is relatively easy to do with GIMP, you can simply use “path” and then export that one to a scalable vector graphics (svg).
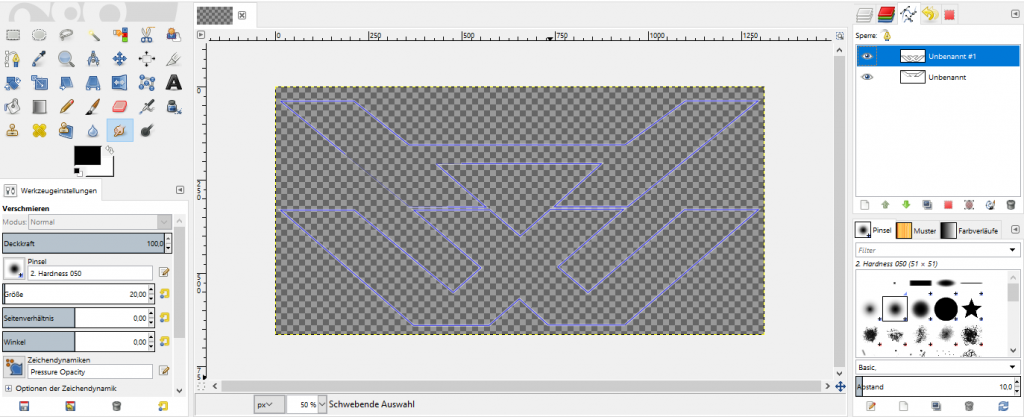
Okay, now that I had the svg, I could import that one into Blender,

which did the rest of the job (e.g. extrude, etc.) so that it became 3D.
As I was not familiar with Blender, it took a while to find out how to add materials, how surfaces work, about meshs, how lights and camera should be set, learned about adding light emitting objects/surfaces to make reflections work, how to create animations a.s.o.
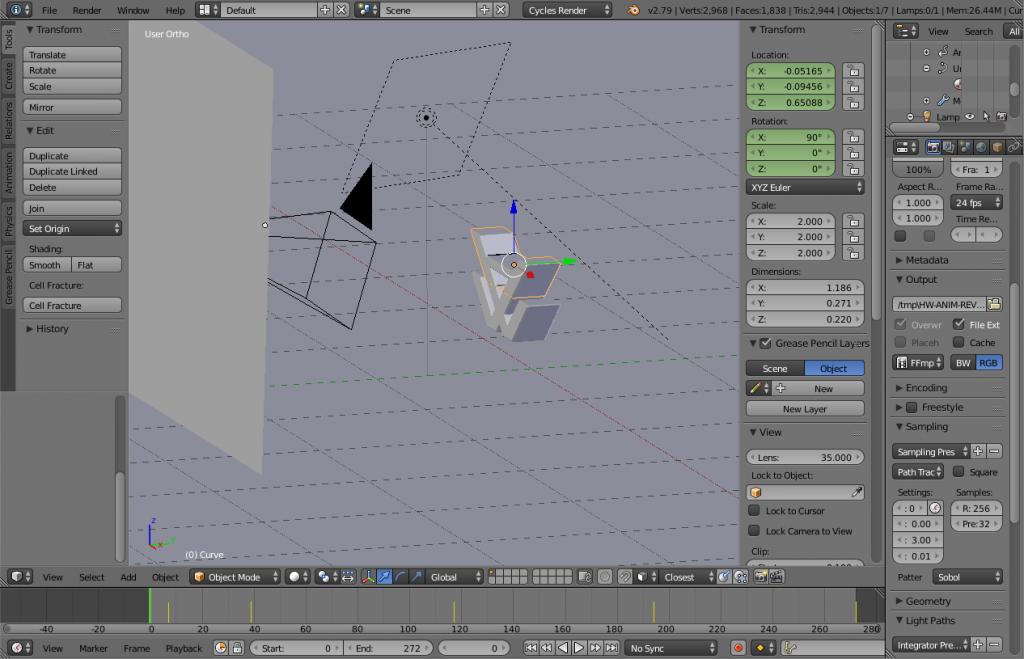
I am quite happy with the result, although I know it is not state of the art.
Yet another DIY for a better understanding of how things work. 🙂
Behind the scenes
In this section, a closer look at some “projects” is done, it’s more or less about the hows and whys of what has been done. 🙂 Btw, this page could also be named DIY (Do It Yourself), since that is basically what it is about. 🙂

 3D Logo animation
 Zwiweisy
 Helmholtz-Resonator